|
|

|
|
|
Quick Links: | Compressing Files | Decompressing Files | Return To Miscellaneous Topics | Return To Main Page | People can download a free shareware file compression utility called WinZip from places such as www.tucows.com and www.download.com. You can use it to "zip" a bunch of files into a compressed "archive" and you can also use it to "unzip" compressed files into usable files. For example, it is common for software programs to be purchased in a compressed archive. You can use WinZip to decompress the software for use on your computer. There are a variety of ways to accomplish these objectives with WinZip. For example, you can use its "wizard" utility. This tutorial will not use the wizard. It will provide you with one way to compress files and another way to decompress them. <next: compressing files> <skip to decompressing files>
Compressing Files Into A Zip Archive: WinZip will create a desktop icon when you install it. It will look like this:
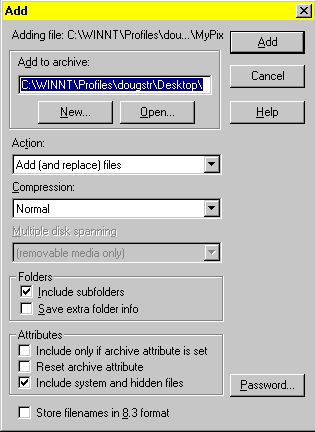
The main WinZip window will pop-up as pictured below. This tutorial dragged & dropped a folder full of pictures called MyPix. Click the "new" button to create a new archive in which you will place the compressed contents of that folder. <next>
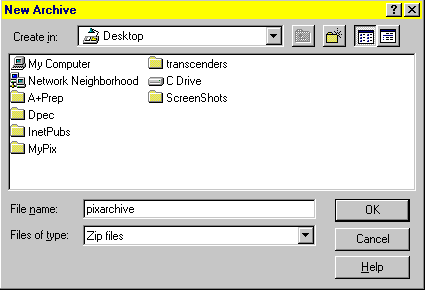
The "new archive" window is pictured below. Type in a file name for the archive. This tutorial is using the archive name "pixarchive" as an example. You can click the very top box's drop-down option to select which file to create the archive in. Right now it is set for desktop. The second button to the right of that "create in" box will allow you to create a new folder but you don't need one. Just name the archive, pick someplace to put it (such as the desktop in this example) and then hit the "OK" button. <next>
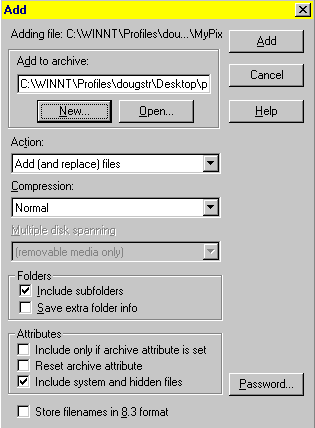
This will return you to the "add" window where you were before you hit the "new" button earlier. Make sure that you have a checkmark in the option to "include subfolders" and then click the "add" button to compress all of the contents of the folder into a single zip archive on your desktop or wherever you specified for the location of the archive. <next>
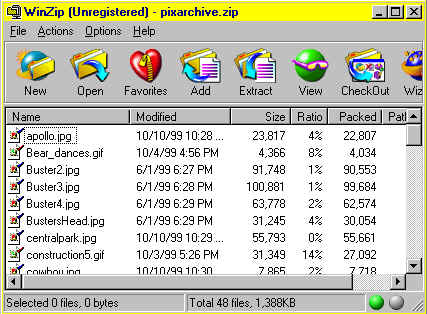
Notice how all of the files are now showing in the main window of WinZip. The ratio column shows you how much the individual files have been compressed. Some files get compressed very tightly while other files are incapable of being seriously compressed. Close the WinZip program. <next>
The icon below is what your archive will look like. In this example, the compressed file pixarchive is now located on the desktop.
<next: decompressing zipped archives> <return to top> <return to main page>
Decompressing A Zipped Archive: Decompressing a zipped archive is also pretty simple. A compressed file will look like the following icon:
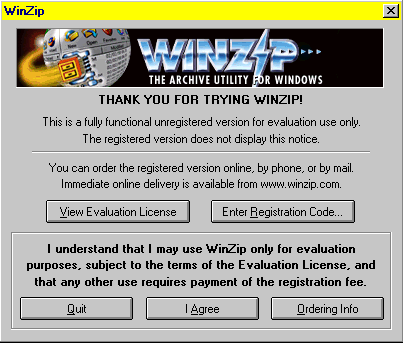
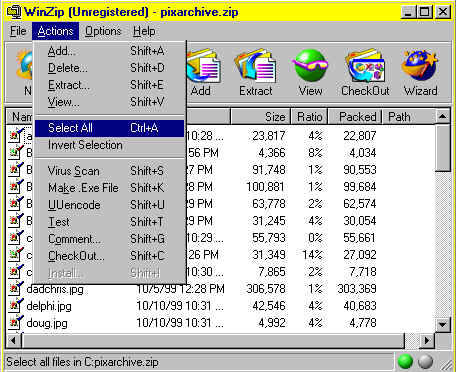
The WinZip nuisance screen may pop-up. If so, click the "I Agree" button and the main WinZip window will pop-up as shown below. Click the Actions menu and choose "select all" to highlight all of the files in the archive. <next>
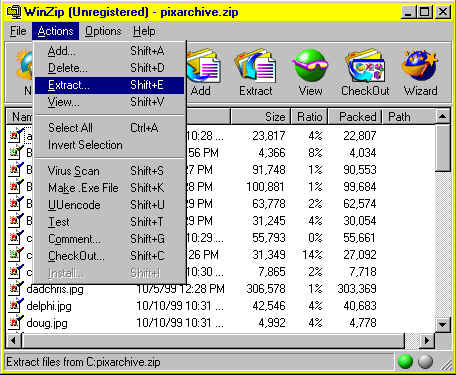
The following screen shot is a bit inaccurate. After you "select all" of the files in the archive, they will be highlighted (unlike the picture below). You then have two options. You can click the "actions" menu and choose "extract" or you can just click on the extract icon in the top toolbar. They both do the same thing. <next>
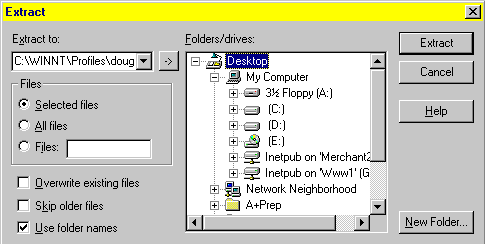
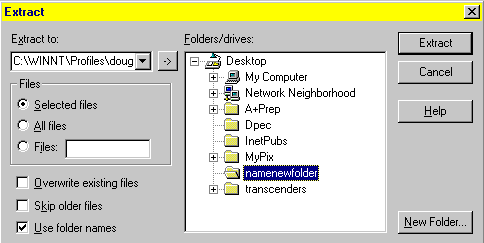
The extract window will pop-up. Choose the place that you want to send the decompressed files in the window on the right. For example, you can send them to the desktop, C: drive, etc. This tutorial will first create a new folder for all of the files. Click the "new folder" button. <next>
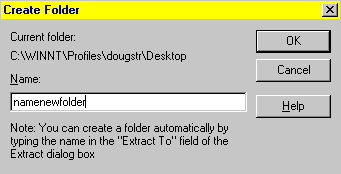
The create folder window is shown below. Give the folder any name that you would like to give it. This example names the folder "namenewfolder." Afterwards, click "OK" to return to the prior screen. <next>
We're back to the prior screen except that now there is a folder named "namenewfolder" which we click to highlight and select as the place where the decompressed files will be placed. Click the "extract" button and WinZip will decompress all of the files in the zipped archive into an uncompressed folder. In this example, they will be placed on the desktop in a folder called "namenewfolder." <next>
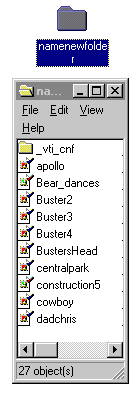
The picture below shows the new folder that was created on the desktop. It also shows the contents of that folder because the folder was opened prior to taking that screen shot.
<return to top> <return to miscellaneous topics> <return to main page> |
