|
|

|
|
|
Quick Links: Configuration | Installation of a New Account | Back to Main Page | Links on this page: Installation | Online Setup |
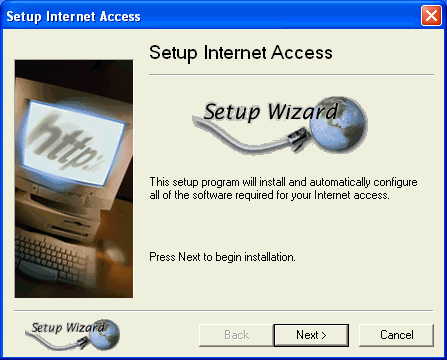
Installation of Existing Account NetSurfer is quick and easy to install. Most computers will automatically start the setup within a minute or two of putting the installation CD into the computer. If not, open your My Computer icon on your desktop and double-click on the CD drive (which is usually D: or E:). The following window will pop-up when the CD starts.
Click next to get to the next window.
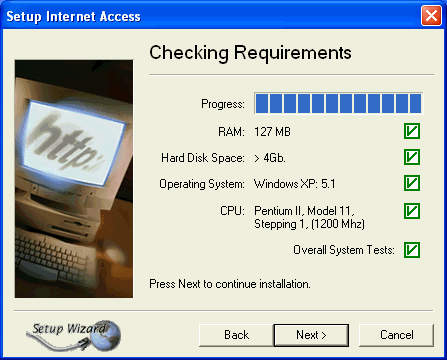
After NetSurfer verifies that your computer meets the requirements to install, click Next.
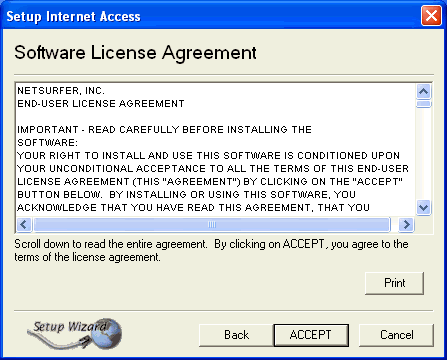
Click "accept" to agree to the software licensing agreement. It basically says that you promise not to steal their software or programming for use in a rival program.
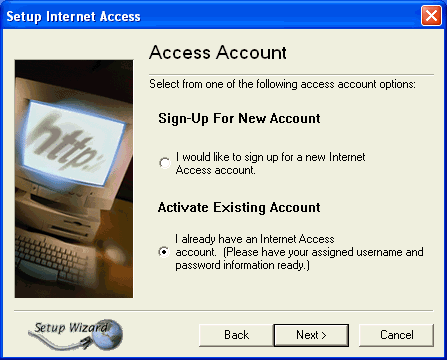
Select the "activate existing account" option then click the Next button. Note: If you don't have an internet account then you will need to create a new account. <click here for new account creation instructions> This tutorial assumes that you already have an account with your ISP.
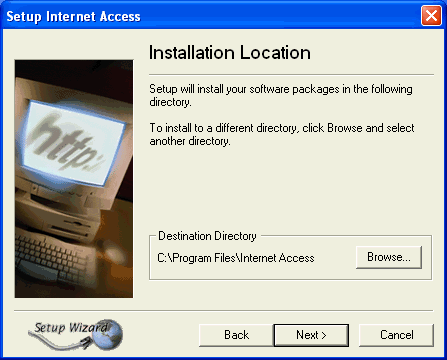
NetSurfer will want to install to your C: drive in a folder called 'Internet' or 'ispname Internet Access' in the Program Files. You can choose a different location ('Destination Directory') if you know what you are doing. For example, you can choose your D: drive (if you have one) if the C: drive is close to full. Generally, it is best to stick with C:\Program Files\Internet unless you know what you are doing. Click the browse button if you need to choose a different location. Click next when you are ready.
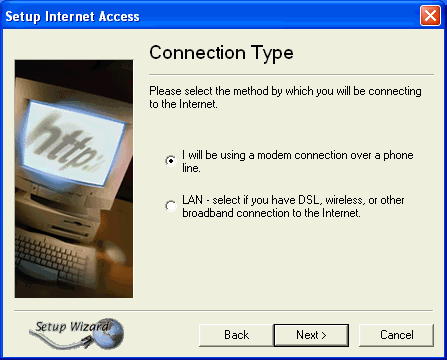
Most people connect to the internet from home on a modem through a phone line. Workplace environments tend to have a "LAN" which is a local area network. Don't worry about it because LANs usually have full-time engineers or system administrators configuring them so that you don't have to worry about it. Many people are also starting to use special high-speed DSL lines. Choose the modem option if you are going to connect that way. If you are connecting through a LAN (not a modem) or DSL then choose that option. Click "next" to continue. The following screen assumes that you are setting up a modem connection. If you are setting up a LAN or DSL connection then click here to skip that window.
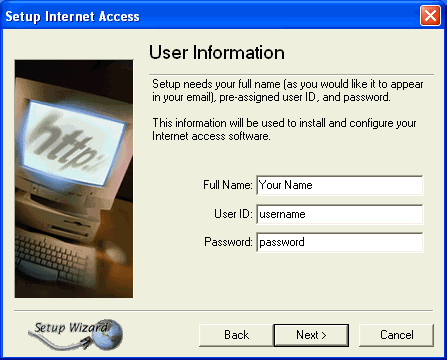
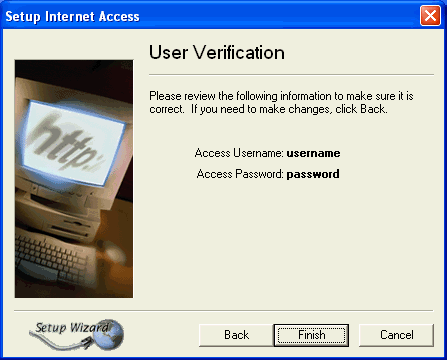
Since you have an existing account, put in your user identification and password that you've registered with your ISP. Usernames and passwords are cASe SenSiTiVE so be careful with your capitalization (and make sure that your caps lock key isn't activated). Click Next.
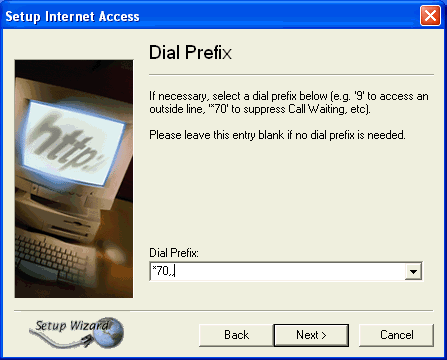
The dialing prefix window allows you to setup the computer to dial extra numbers when you connect to the internet. Many workplace systems and hotels require you to dial a "9" to get an outside line. If this applies to you then put a 9 followed by two commas to make that happen. [The commas cause a slight delay of about two seconds to allow the phone lines to switch prior to dialing the phone number.] You can also put a *70,, in the prefix to disable call waiting. Click "Next" when you are ready.
NetSurfer will ask you to verify the information that you put in. Once you've done that, click "finish" and the following window will pop-up. DSL/LAN Connections resume here. Modem connections continue here.
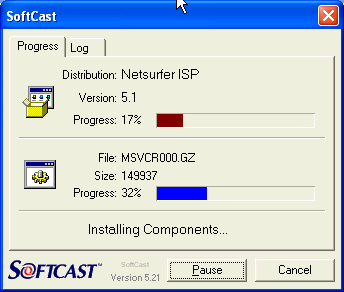
This window tells you how far you've progressed with the download of software from your CD to your computer. Once it is completed, the next window pops up.
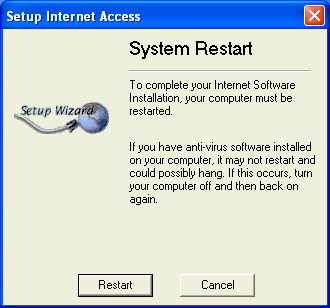
Hit the restart button. The setup isn't finished. We will have to continue the installation after restarting the computer.
After the restart, you will see either your ISP's logo or the Internet Setup Wizard icon <pictured below>.
That icon will change to your ISP logo after you finish the installation process. The following pop-up window will also appear automatically. If it doesn't then click the Internet Setup Wizard icon to get that pop-up window.
Welcome to setup phase #2. Click next.
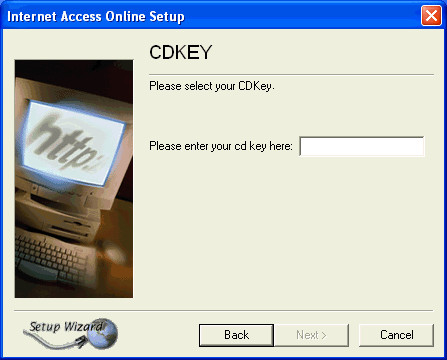
Your CD will have an installation key that is a word, number or combination of the two. Plug it into the box and hit next. Note: If you get an "empty distribution" error then you've put in the wrong key. Try again. If it still doesn't work then contact your ISP.
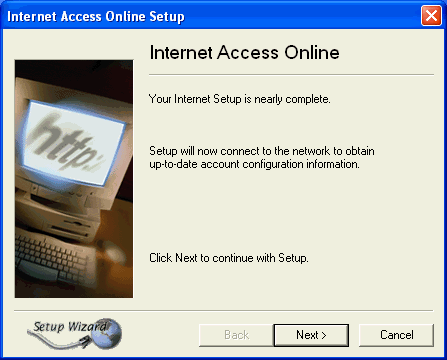
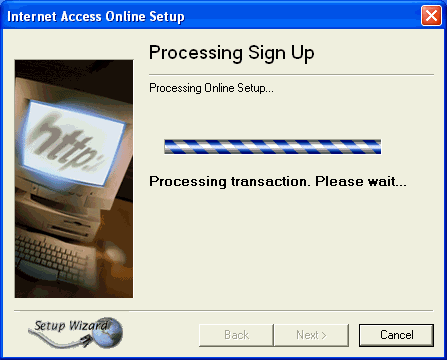
Your computer will begin connect to the internet. This may take a few minutes. When it is done, the "next" button will light up. Click "next" when it does so.
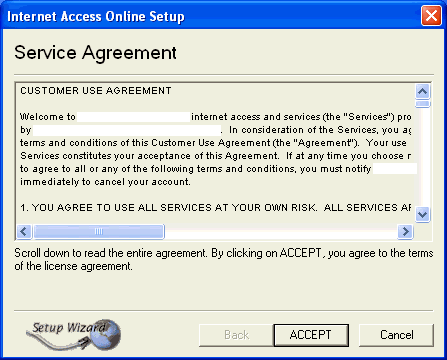
The service agreement window contains the terms of your internet connection with your ISP. This screen shot used one particular ISP but your window will relate to your own ISP. Hit the "accept" button to continue.
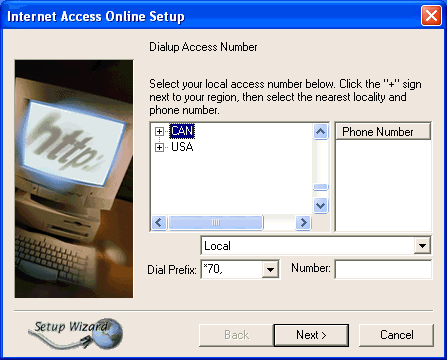
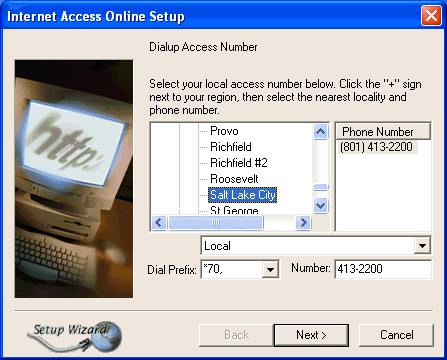
This is where you select your ISP's local dial-up number that your computer will be calling when you connect to the internet. If you were to call one of these numbers then you'd hear a squealing noise. That's machine language. Most humans can't understand the squeal but most computers can. Click the + sign to the left of USA (or CAN if you are in Canada) and click on any other + signs necessary to find a city in your state that has a local phone number for you. Warning: You will be responsible for long distance charges if you pick a number that is not a local phone call for you. You can test the number by calling it as a local call. If you don't have to dial it as a long distance call then you are okay. Note: Many big metropolitan areas now require you to use "10-digit dialing" where you have to dial the area code for local phone calls. You will already know about this from your regular phone calls so don't worry about it unless you already do this in your area. Scroll down to see what it looks like when you choose a city.
Once you've selected a phone number, click the "next" button to get to the next window.
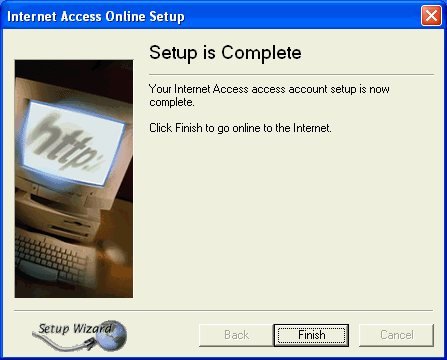
The window above signifies that you have finished configuring your computer. The following NetSurfer window should pop-up automatically. If it doesn't then look on your main desktop for a new icon (picture) that refers to your ISP. Click that button to get the NetSurfer window.
NetSurfer has already setup your Web browser and e-mail for you. Most people won't need to change any of those settings but you can "fine tune" NetSurfer to satisfy your preferences. See the configuration options link at the top of the page for details.
<return to top> <netsurfer configuration options> <netsurfer installation for new accounts> <windows page>
Last Update: Thursday, July 03, 2003 |
