|
|

|
|
|
Quick Links: Installation of Existing Account | Installation of a New Account | Back to Main Page | Links On This Page: | Settings | Password | First Aid | Access Numbers | Modems | Programs |
NetSurfer is dialing software that replaces your normal Windows Dial-Up Networking connection. It also has shortcuts to common Internet applications. Here are basic screen shots and configuration options for NetSurfer 5.x. Click one of the 'Links On This Page' (above) to see screen shots for new and existing accounts. The screen shot below is the basic Netsurfer jump page. Click on icons to check your e-mail or newsgroups, surf, and use an FTP program. This tutorial will cover the Settings and Program options. You'll see that the screen below has 'Ask the Expert'. After connecting to the Internet, click on 'Ask the Expert' if you're having problems with your e-mail, newsgroups, FTP client, etc. You'll log into a chat room where you can chat with one of your ISP's technical support specialists.
Select Settings. Here you can change the settings of you Internet connection. The top-right corner will tell you if you're online. Click 'Disconnect' to go offline or 'Connect' to go online. The bottom, left corner will tell you if you have e-mail. Note: E-mail notification appears when you're online. You reset your username, dial-in number, password, and modem here. For more stable connections, add three commas to the end of the number. Enter a '9,,' in the 'Dial Prefix' field if you need to dial a '9' to get an outside line. Important: Do NOT enter a 'domain tail' to the end of your username. A domain tail is '@ispname.com'. NetSurfer enters the domain tail automatically. If you add it, you will not connect. Be careful to match the cAPitALizaTion exactly because usernames and passwords are case sensitive.
If you change the phone number in the Number field instead of through the Number Button, you will be prompted with the following screen the first time you try to connect. In the Login Suffix field, enter the Domain Tail for your ISP, as pictured below. If your ISP were myisp.com, your domain tail would be "@myisp.com".
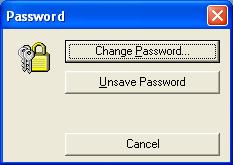
Note: NetSurfer will enter your password automatically when you connect. If you don't want someone to use your Internet connection, click 'Unsave Password'. This way they will need to know your password to connect to your Internet account. Click Change Password... to change your Internet password.
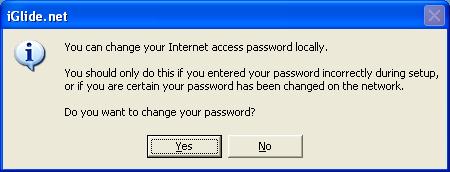
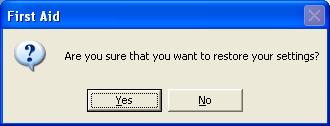
The following screen appears. Important: Your password must match the password on your ISP's network. Changing your password here will not change the password on your ISP's network. You must contact them to change it there and then change it here to match it. Click Yes to proceed.
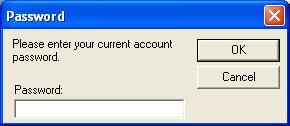
A password screen opens asking for your current password. Older versions of NetSurfer do not have this prompt. Type in your current password. Click OK. Even if you don't remember your current password, click OK (leaving the Password blank) and you will be moved to the next screen.
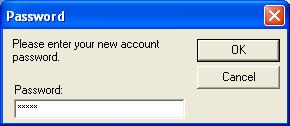
Now a screen opens asking for your new password. Type in your new password. Click OK.
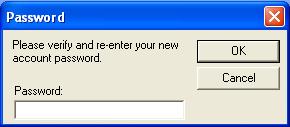
Type in your new password a second time to verify. Click OK.
Note: There is NOT a 'First Aid' button in NetSurfer 5.0; it's only in NetSurfer 5.1. This is a very nice feature. Your software is configured the first time it is installed. If you ever begin to have technical issues relating to your connection, browser, or email, the first aid button on the Settings tab will restore all your settings to their original state.
Important: Changes to the access number must be done through the number button NOT in the number field.
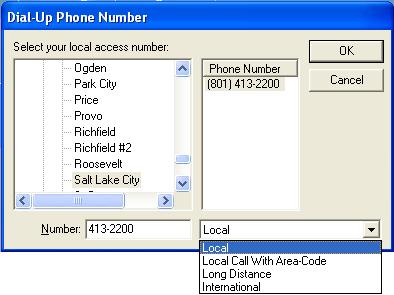
The screen below appears. Here you can change the access number you use to connect to the Internet. Important: Always check with your local phone company to verify that the number you choose is not long distance. Note: As you can see from the drop-down menu in the bottom-right corner, you can specify Local, Local Call With Area-Code, Long Distance, or International.
Pick your city in the field on the left. The phone number for this city will then appear on the right. Click OK, and go back the the settings screen (pictured at the top of this page) to verify that the number appears correctly. Special: If there is not a city in the list with a local access number for your area, contact your ISP. Your ISP will instruct you to type a different number in the Number field at the bottom left. After clicking OK, you will be prompted to enter a Login Suffix. Enter the Domain Tail for your ISP in the Login Suffix field, as pictured below. If your ISP were myisp.com, your domain tail would be "@myisp.com". Click OK, and go back the the settings screen (pictured at the top of this page) to verify that the number appears correctly.
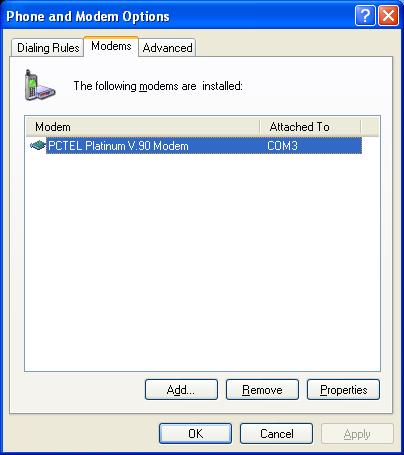
Note: Changes to modem settings are best accomplished through NetSurfer's connectoid in Dial-Up Networking. Changes made in the Modem Options do NOT affect the already-existing NetSurfer connection. Click here for information regarding your modem options.
Clicking the modem button brings you to the Modem Options applet in the Control Panel. The Modem button is simply a shortcut to this screen. This screen is not a part of NetSurfer. You can modify your Modem Options, but you shouldn't have to change anything in here.
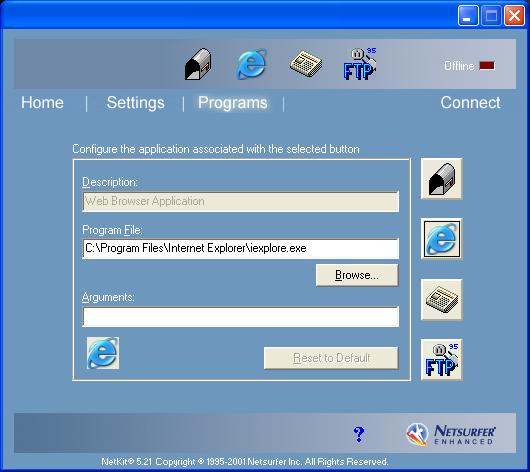
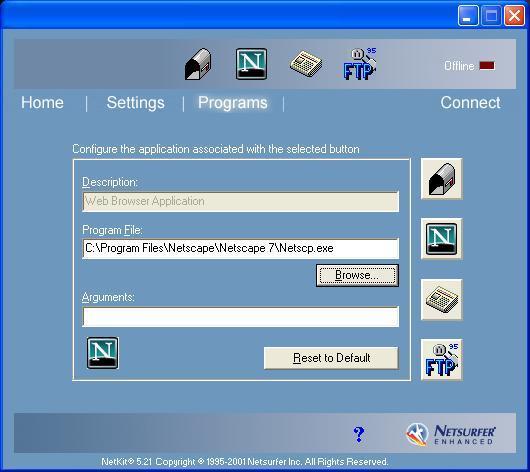
Click on the 'Programs' link to get to the next window. Summary: The right column of buttons control what programs the top row of icons open. If you chose to install Internet Explorer, the mailbox is set for Outlook Express. If you chose Netscape then it automatically uses Netscape Messenger. You can change the
programs associated with the top row of icon buttons. For example,
to change from Internet Explorer to Netscape Navigator, click the Click the Browse button below it.
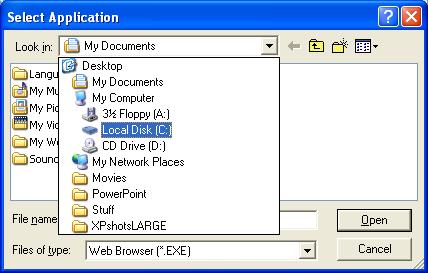
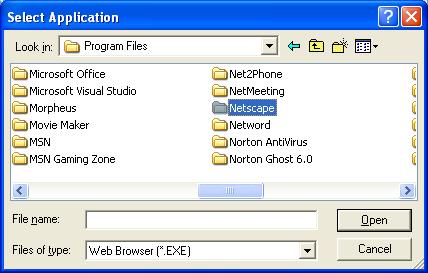
You'll see a screen similar to the following: Select the 'down-arrow' to the right of the 'Look in' field and choose 'Local Disk (C:)'.
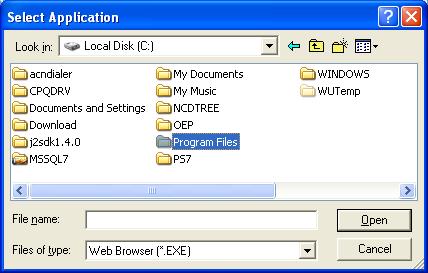
Double-click on Program Files.
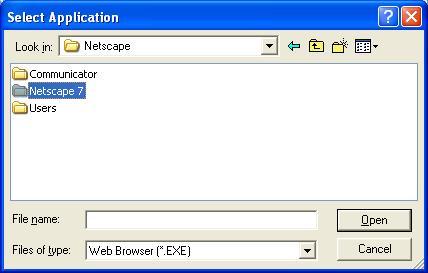
Locate the Netscape folder and double-click on it.
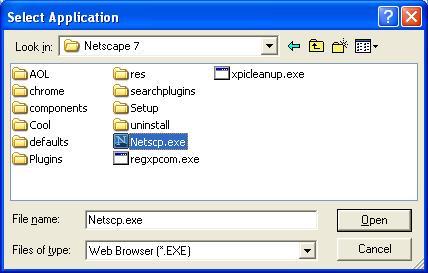
Double-click on the Netscape 7.0 folder.
Highlight netscp7.exe and click Open.
Now the browser button has Netscape's icon. When you click on it, Netscape opens. You can do the same with your FTP client, and mail & newsgroups client.
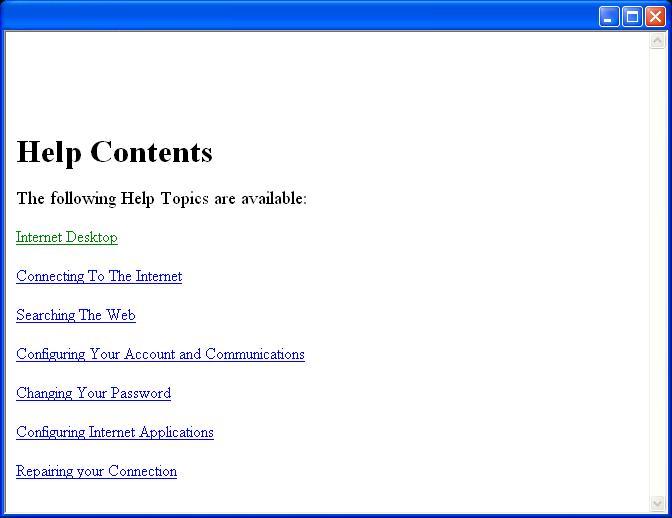
You will see the following window with options on additional tutorial info.
These are the basics. <return to top> <netsurfer installation for new accounts> <netsurfer installation for exiting accounts> <windows page>
Last Update: Thursday, July 03, 2003 |

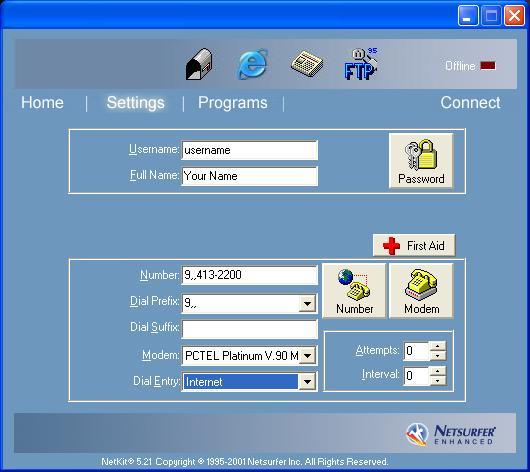
 Click the Password button to get to the following screen.
 Click on the Number button.
 Click on the Modem button.